Quickbooks Payments Integration Guide
Integrate your online payment gateway with Quickbooks for accurate and real-time reporting. When it comes to getting started, we’ve got you covered.
November 27, 2024
-
0
min read
Integrate your online payment gateway with Quickbooks for accurate and real-time reporting. When it comes to getting started, we’ve got you covered.
0
min read
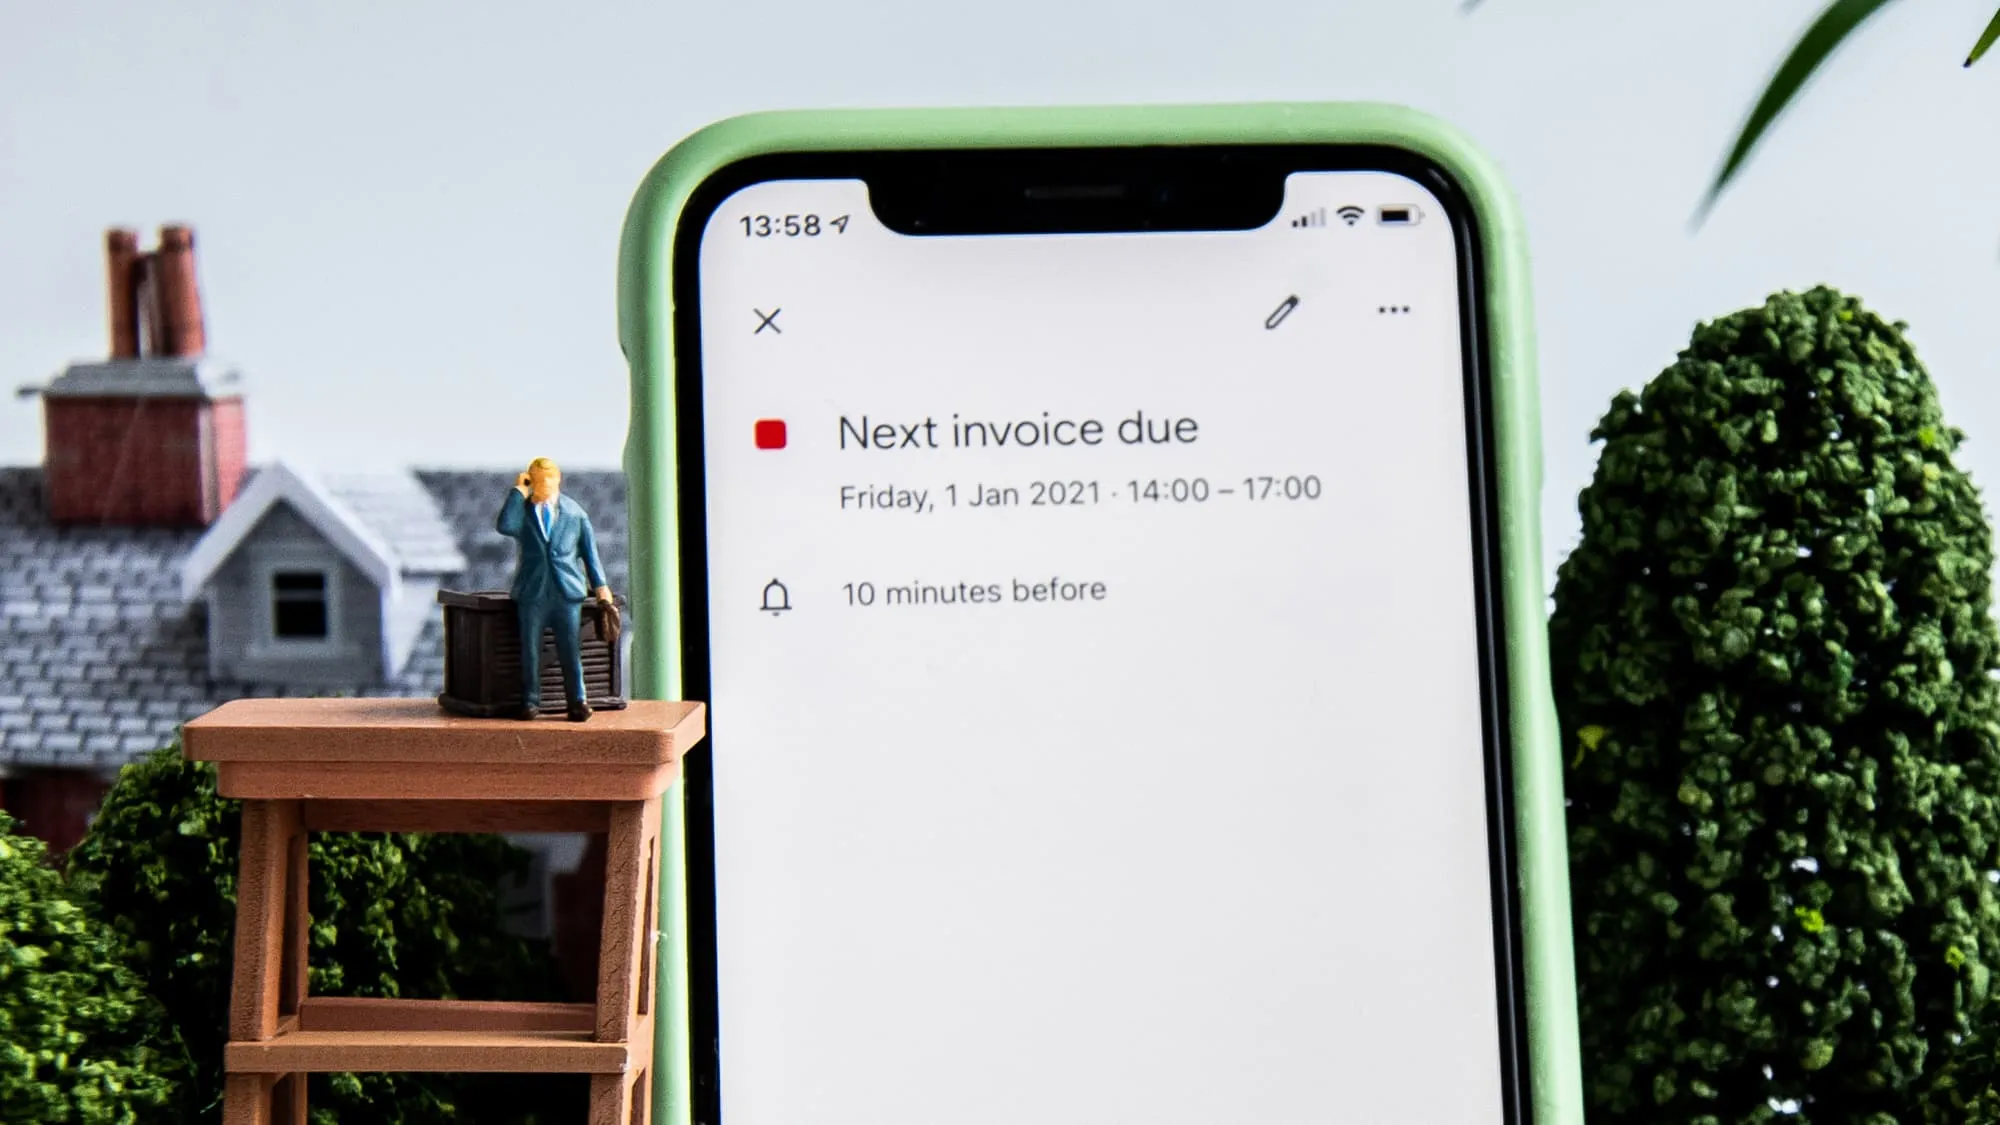
Quickbooks is one of the most popular cloud accounting solutions for small businesses and accounting. A major advantage of Quickbooks for businesses selling online is its ability to integrate with payment systems, allowing websites to easily accept, make and track payments online. Here we’ll provide an overview of Quickbooks payments integration, including how it works, the benefits it offers, and how to set it up for your website.
Connecting Quickbooks accounts to your website or online store enables businesses to create a single, seamless system for tracking payments, updating inventory levels, and managing invoices and bills for sales and expenses. With Quickbooks as your centralised information management platform, you can control your sales and cash levels in real time from a single source.
Setting up your Quickbooks payment integration has a number of benefits for e-commerce businesses, including:
Quickbooks website integration is straightforward, even for non-technical business owners:
The Quickbooks integration API (Application Programming Interface) is a set of programming instructions that allows businesses to connect their website or online store to their Quickbooks account, enabling the automatic exchange of data between the two systems.
Through an API, data can be shared instantly, reliably and securely, recording payment data in the accounting ledger without the need for manual data entry or rekeying information between systems. While the back-end of these systems can be configured in many ways, the vast majority of businesses can use this feature ‘out of the box’, setting up the connection with the simple steps above.
Recent years have seen a range of different POS (Point of Sale) integrations become available for Quickbooks, offering more choice to business owners. Key factors to consider when choosing a POS integration include the type of business you have, the available integrations with your particular website and any other value-add services you are looking to provide.
iwocaPay, for example, includes Quickbooks integration that allows businesses to accept payments instantly from all customers without the card fees , and offer Buy Now PayLater for business customers to spread the cost of larger purchases.
Other popular POS integrations for Quickbooks include Square, Shopify, and Clover, which offer different features and combinations of functionality, which may suit some businesses more than others.
{{iwoca-pay-cta="/components"}}
iwoca is one of Europe's leading non-bank lenders. Since 2012, we've lent over £4.5 billion to 100,000 small and medium-sized businesses in the UK and Germany.
iwoca has won a number of awards, including Moneynet's best small business lender (2024) and best small business provider (2025). We've also been featured in major media outlets including The Independent, Forbes and the Financial Times.
With iwoca, draw down as needed and repay early to save on interest. Flexible business loans with no hidden fees.
Integrate your online payment gateway with Quickbooks for accurate and real-time reporting. When it comes to getting started, we’ve got you covered.